1. Set Up a Hot Desk Booking System
-
Login to your Lobbytrack account on a web browser.
-
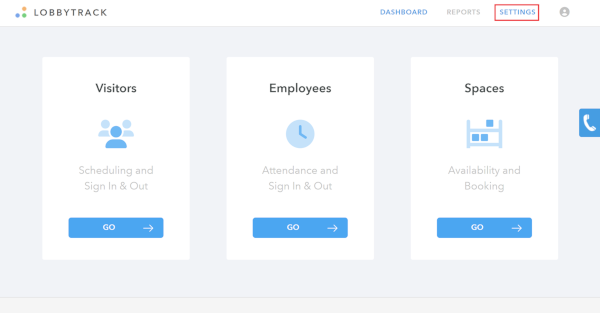
Click Settings.
-
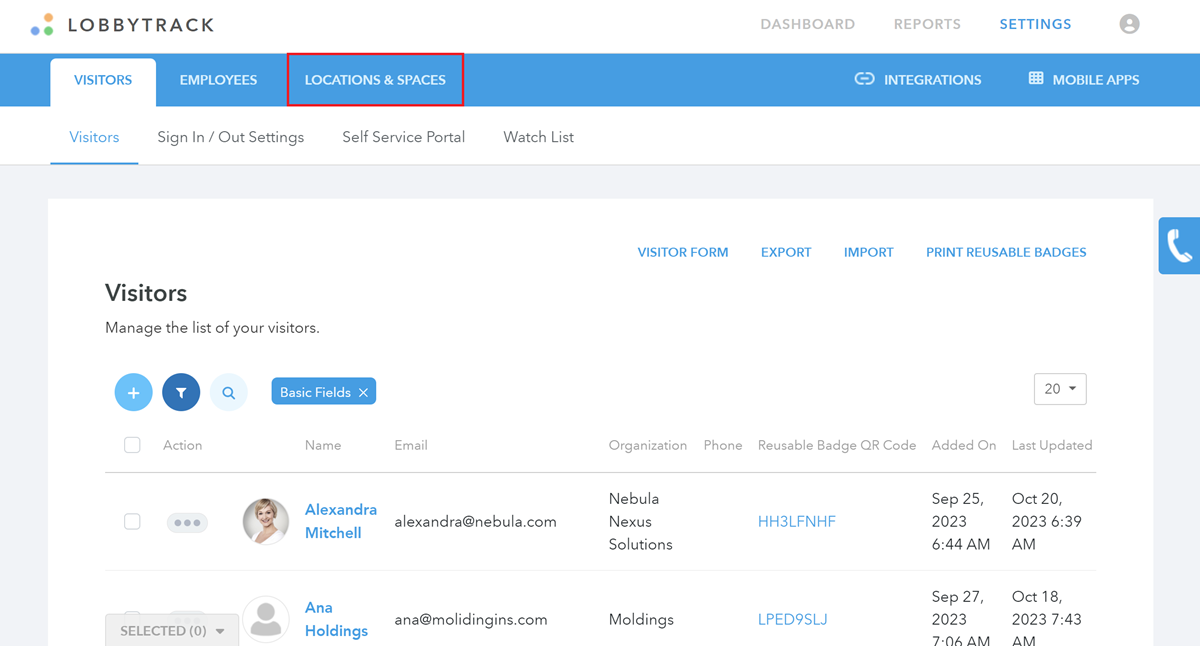
Click Locations & Spaces.
-
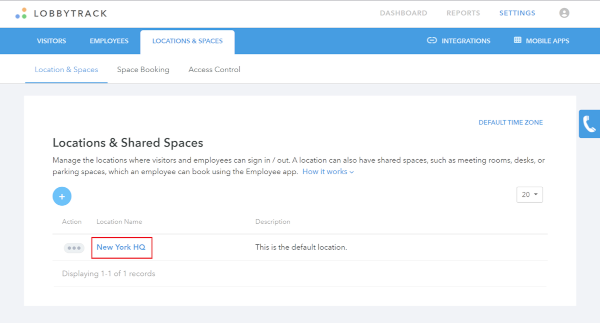
Click on the location where you want to set up a hot desk booking system. (note that you can have multiple locations).
-
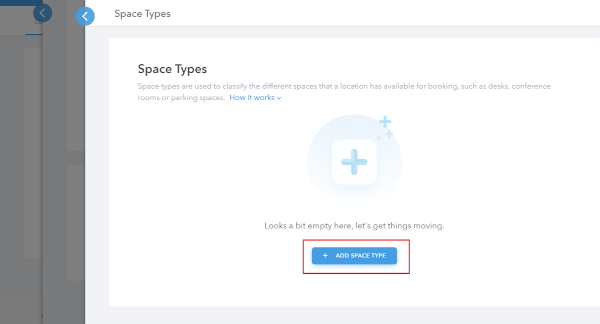
Scroll down to "Spaces", click Space Types, and then Add Space Types to create a Hot Desk Office inside your location.
A "Space Type" is any space inside your location or facility, such as a working office, cafeteria, meeting room, etc.

-
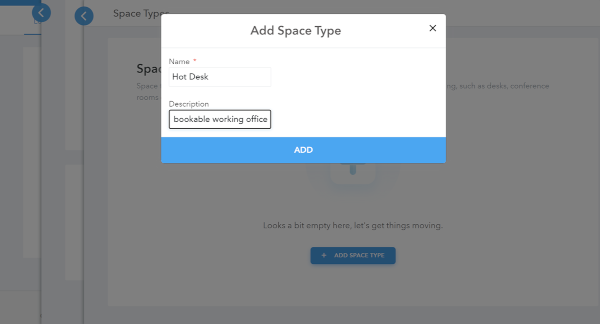
Type the name and description and click Add to create the space type.
-
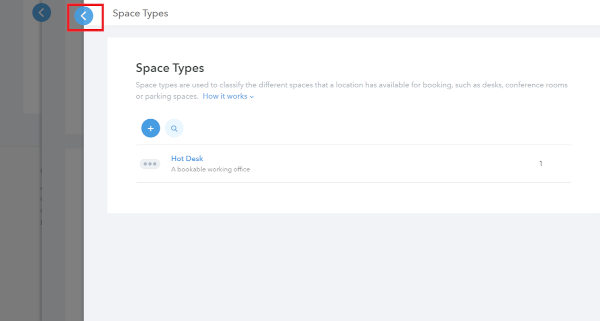
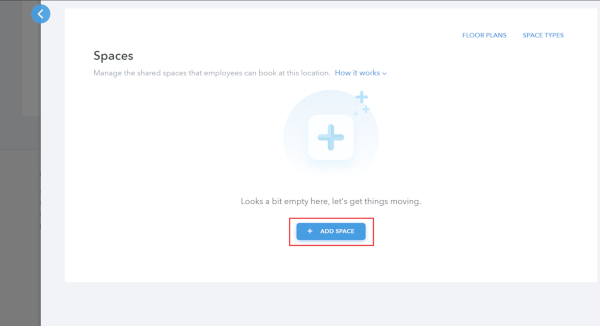
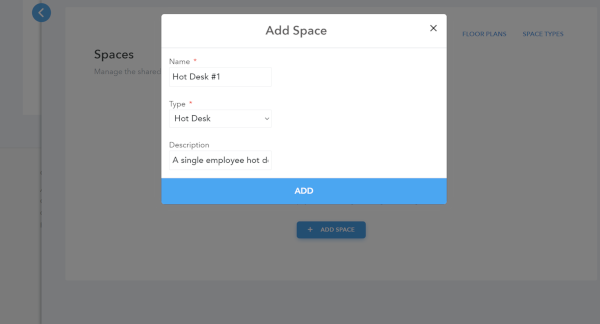
Once you create the Hot Desk Space Type, click the Back Arrow. After, click Add Space.
-
Type the name and description, and pick the space type. Once ready, click Add.
-
Repeat the process for how many hot desks you have inside the Hot Desk Office Space.
Every space (example: Hot Desk #1) is a desk an employee can book. If you have 5 bookable hot desks, you'll create 5. If you have 10 bookable hot desks, you'll create 10.
2. How to Book a Hot Desk
-
The employee must log in to the Lobbytrack Employee App with their Lobbytrack account.
-
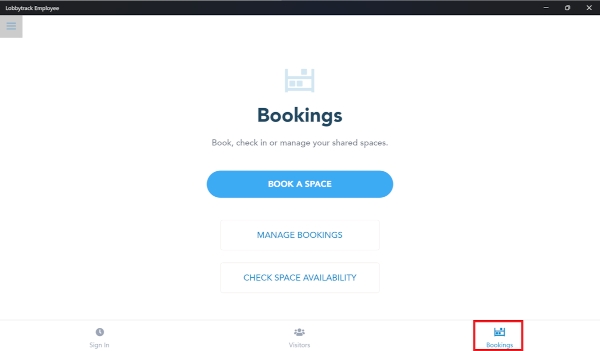
Click the Bookings section inside the app.
-
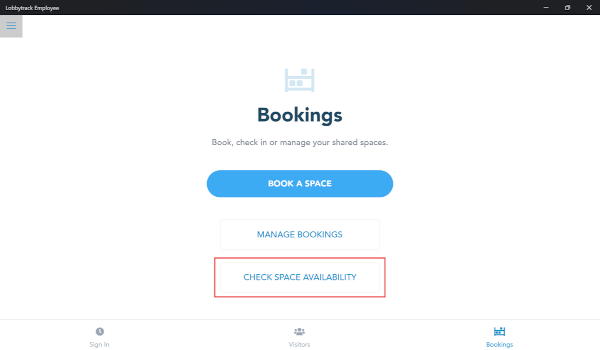
In the app, you have 3 options:
-
Book a hot desk by clicking Book a Space.
-
Manage already booked hot desks by clicking Manage Bookings.
-
Check available hot desks by clicking Check Space Availability.
-
-
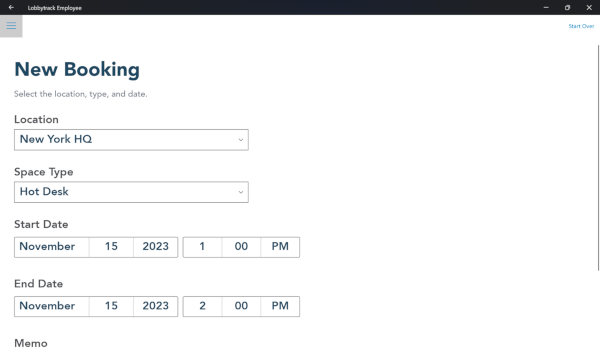
After clicking Book a Space, select the location, pick "Hot Desk" as the "Space Type", pick the starting and ending date and time. You can also add a memo. Finally, click Next at the bottom.
-
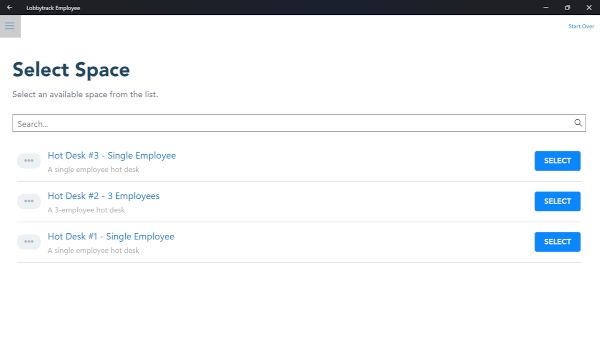
Select your hotdesk. You can also search by typing the hot desk's name.
-
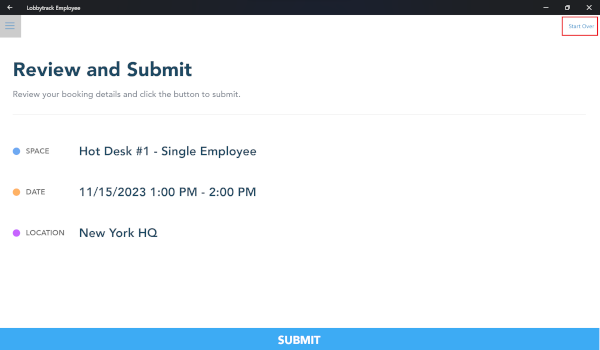
Review and click Submit.
Extra tip: If you want to start over at any point in the booking process, click Start Over in the top-right corner.
3. How to Manage a Booked Hot Desk
-
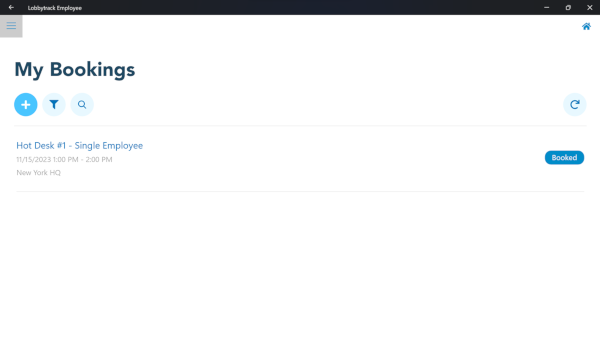
Follow the steps in the "2. How to Book a Hot Desk" guide up to Step C. Here, click Manage Bookings.

-
Click the booked Hot Desk you want to manage.
-
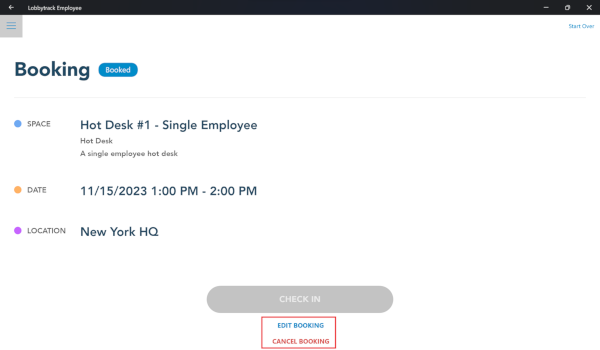
Click Edit Booking to edit your booked hot desk, or click Cancel Booking to cancel your booked hot desk.
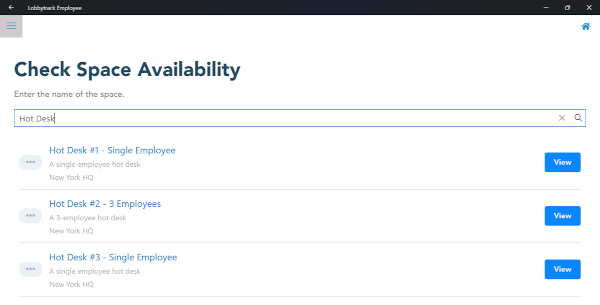
4. How to Check Hot Desk Availability
-
Follow the steps in the "2. How to Book a Hot Desk" guide up to Step C. Here, click Check Space Availability.
-
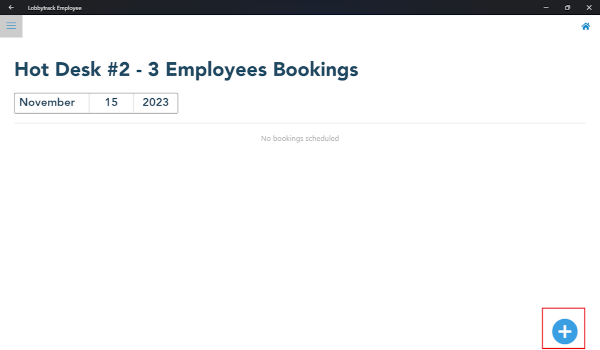
Type "Hot Desk" in the search bar. Click View for the hot desk you want to check the availability for.
-
If the Hot Desk isn't scheduled, click the Plus Button in the lower-right corner to book the Hot Desk.