-
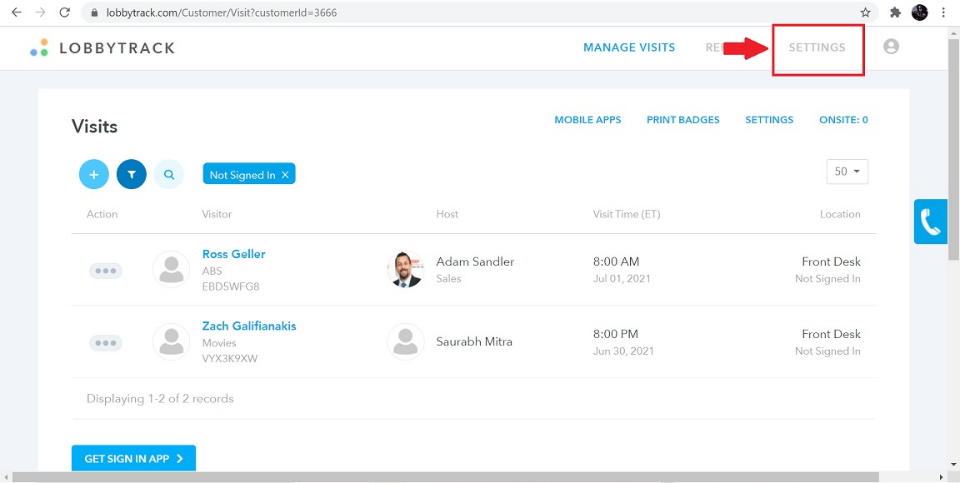
Click on "settings" at the top right corner.
-
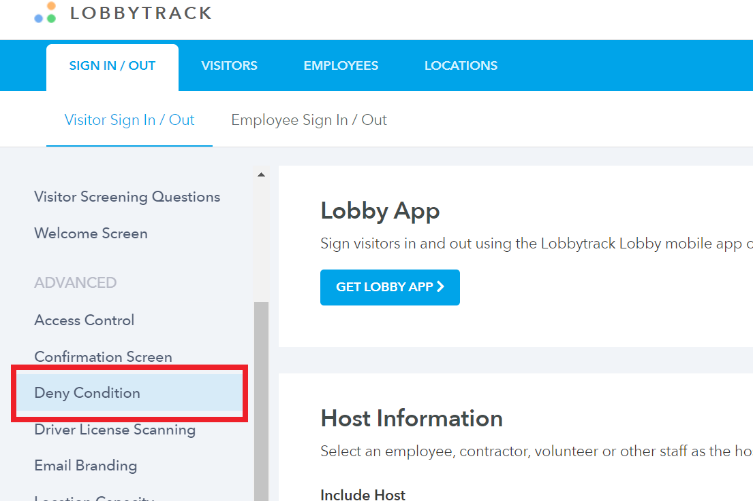
Scroll down in the menu on the left side of the screen and then click on "deny conditions".
-
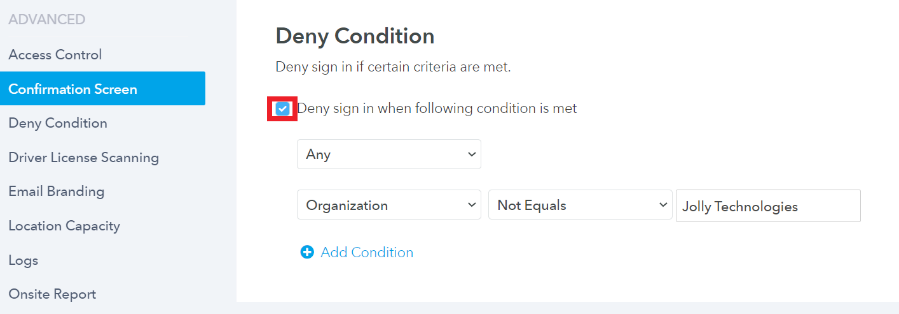
Click on the check box next to the setting that says, "Deny sign in when following condition is met".
-
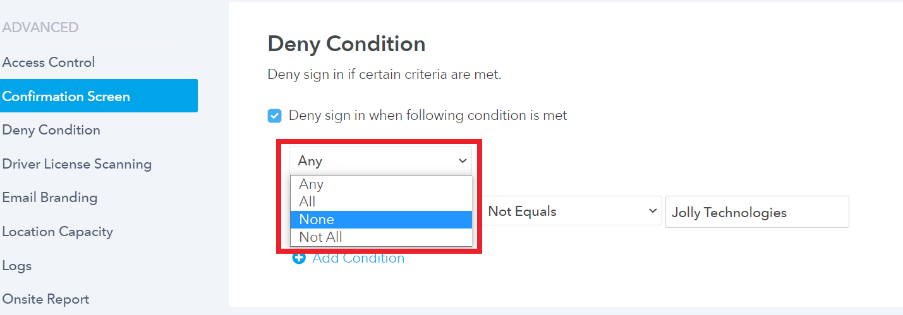
From the first drop-down menu under the setting, select how this filter should work. You have the option to add multiple conditions. This filter allows us to trigger the denial in 4 different situations. When "any" one of the conditions is met, when "all" the conditions are met, when "none" of the conditions are met and when "not all" the conditions are met.
-
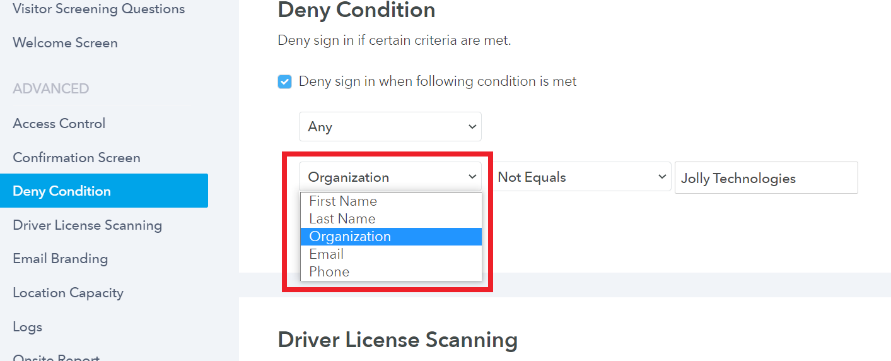
Then start adding the conditions. You will first have to select the field which you plan to use to set up the condition. It can be any one of the fields from the visitor form.
-
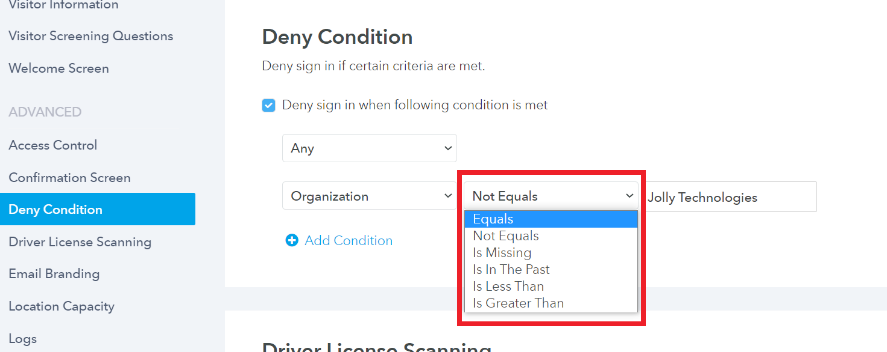
Then select the condition.
-
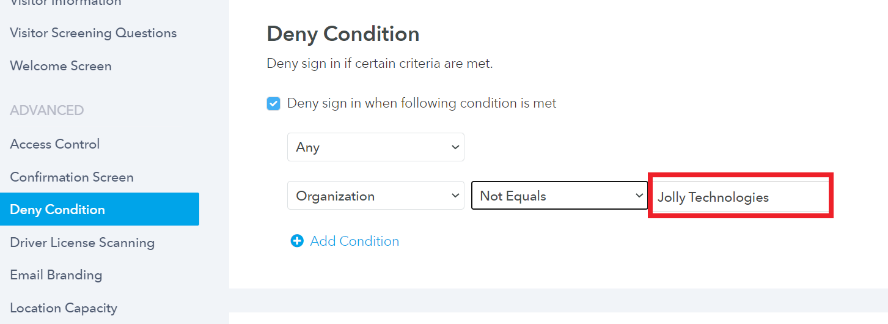
Then enter the value that should trigger the denial.
-
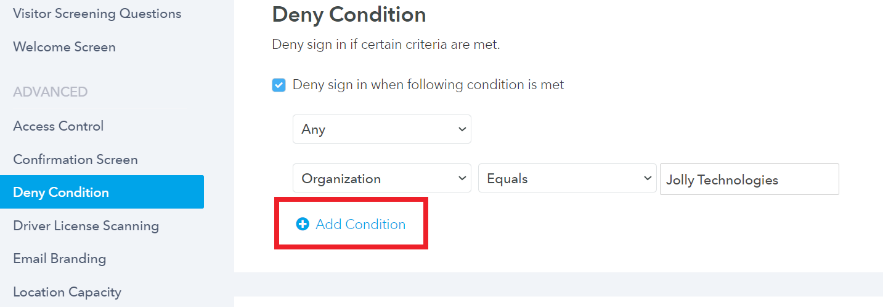
Click on "add condition" to add multiple conditions.
-
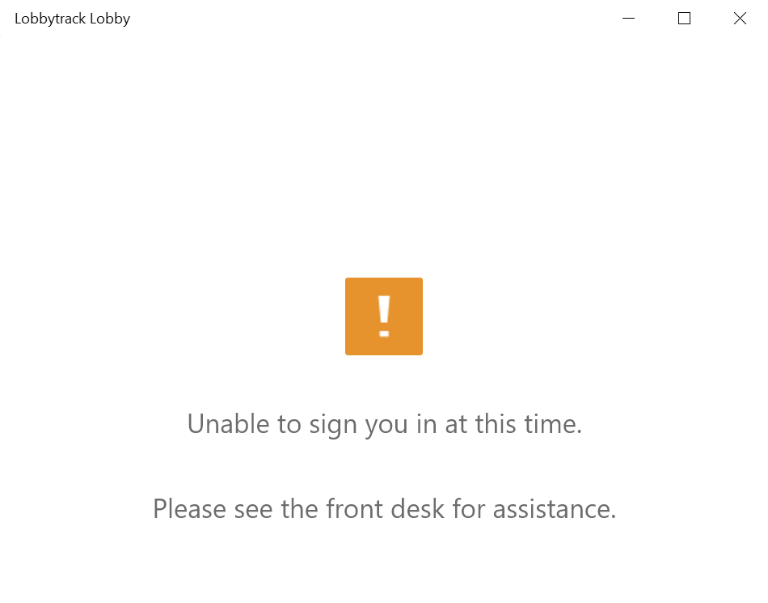
Look at the screenshot below to see the error message that the visitor will see on the tablet when they are denied entry.
Setting up email notifications to go out when a deny condition is met for a visitor
You can also set up an email notification that will go out in case the deny condition is met for a visitor. This notification can be sent to the host, receptionist, and the guards. In order to set up the notification emails, please follow the steps listed below:
-
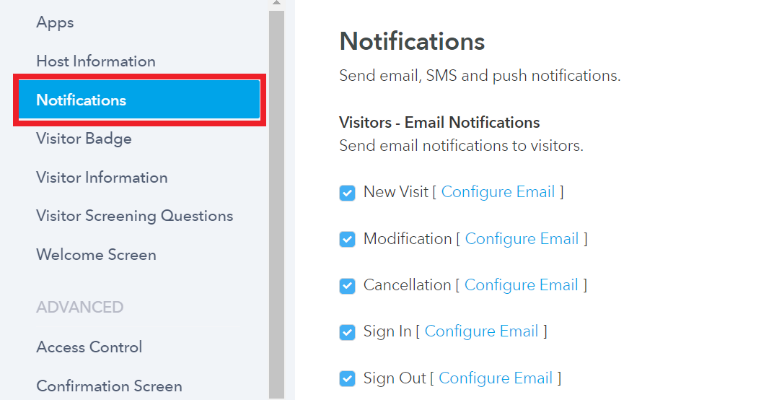
Once you are done with setting up the deny conditions, scroll up in the menu on the left and click on "notifications".
-
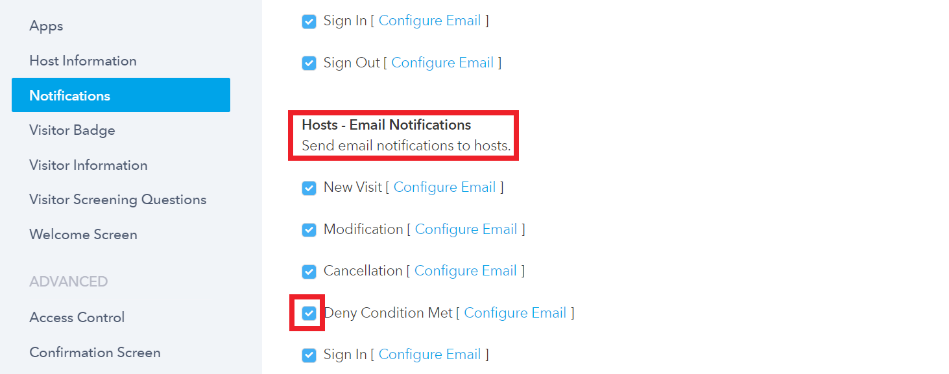
Then scroll down in the main page and go to the list of "hosts - email notifications", and then enable the "deny condition met" notification.
-
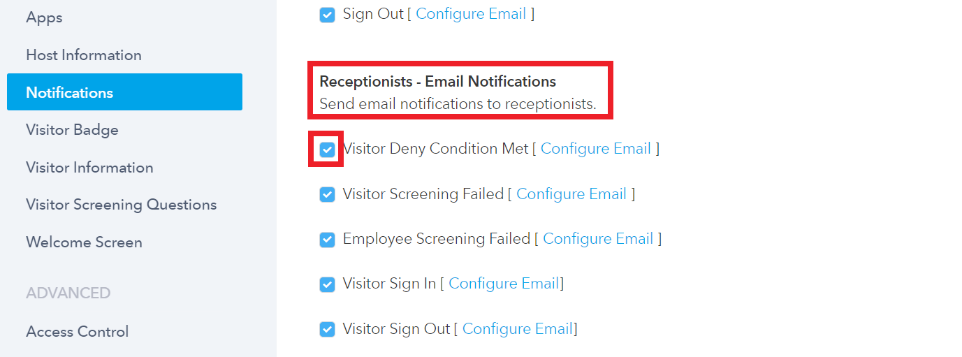
Scroll down further to the list of "receptionists - email notifications", and then enable the "deny condition met email" to send an email to the receptionist when the deny condition is met.
-
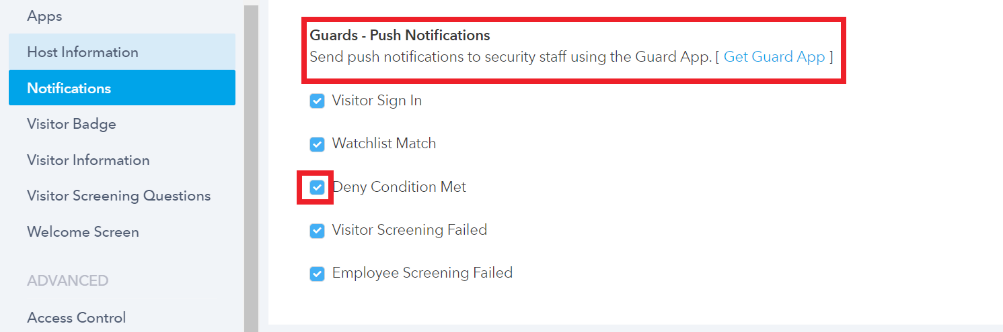
Scroll down again and go to the list of "guards - push notifications". Enable the "deny condition met" email to send the notification to the guards on the guard app.
-
You will see a link to edit the content of the email as well. Click on the "configure email" link next to the name of the email.
