Method 1 - Allow the visitor to sign in - receptionist not required
Using this method, you can allow the visitors to fill up the information form and complete the sign in process themselves. You do not need the receptionist to complete this process. You can also set up and connect a printer to print visitor badges once the sign in is complete. Please follow the steps listed below:
-
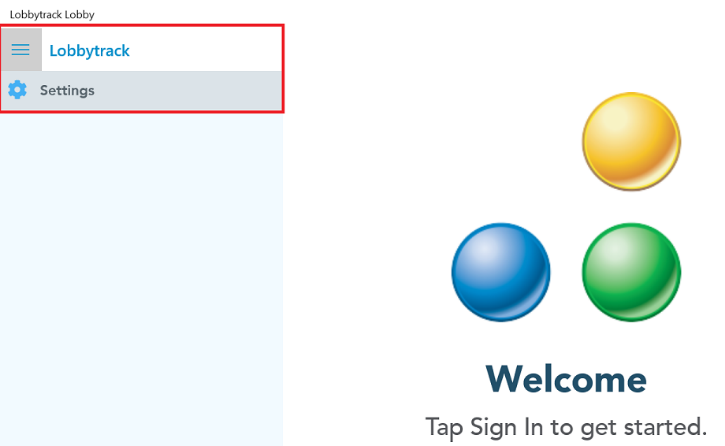
Open the "Lobbytrack Lobby" app on the tablet that will be used by the visitors to register.
-
Tap on the settings icon at the top left corner.
-
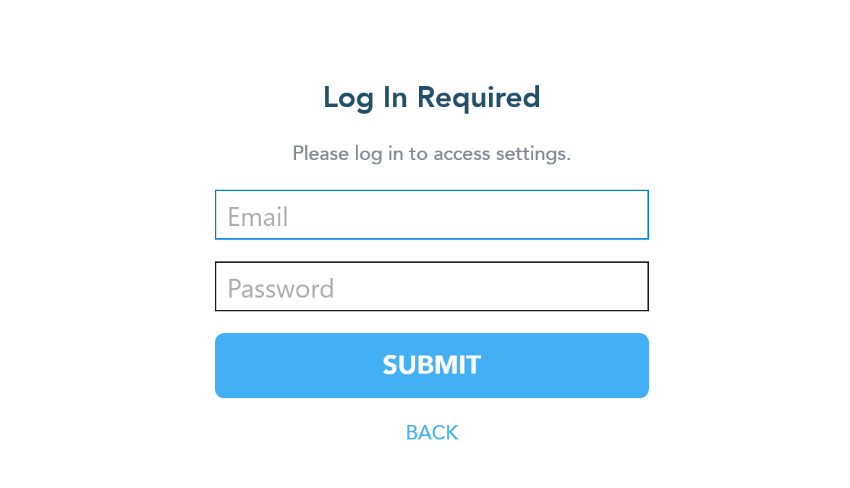
The app will require you to log in before you can access the settings. Enter the login credentials for the Lobbytrack account.
-
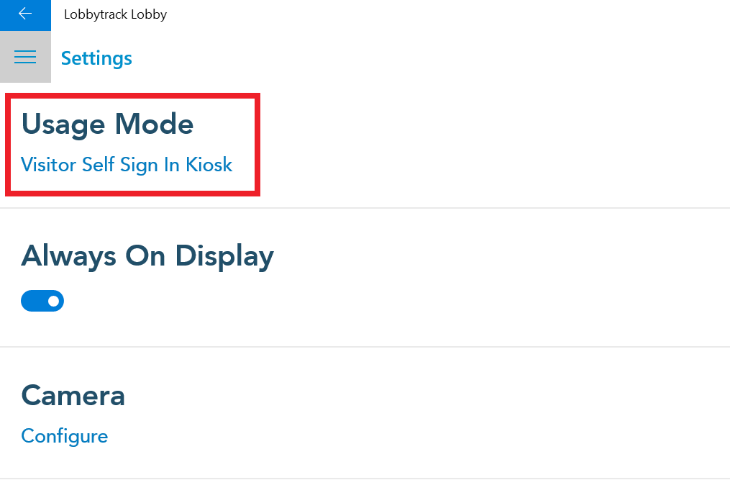
Once you log in and see the settings page, tap on "usage mode".
-
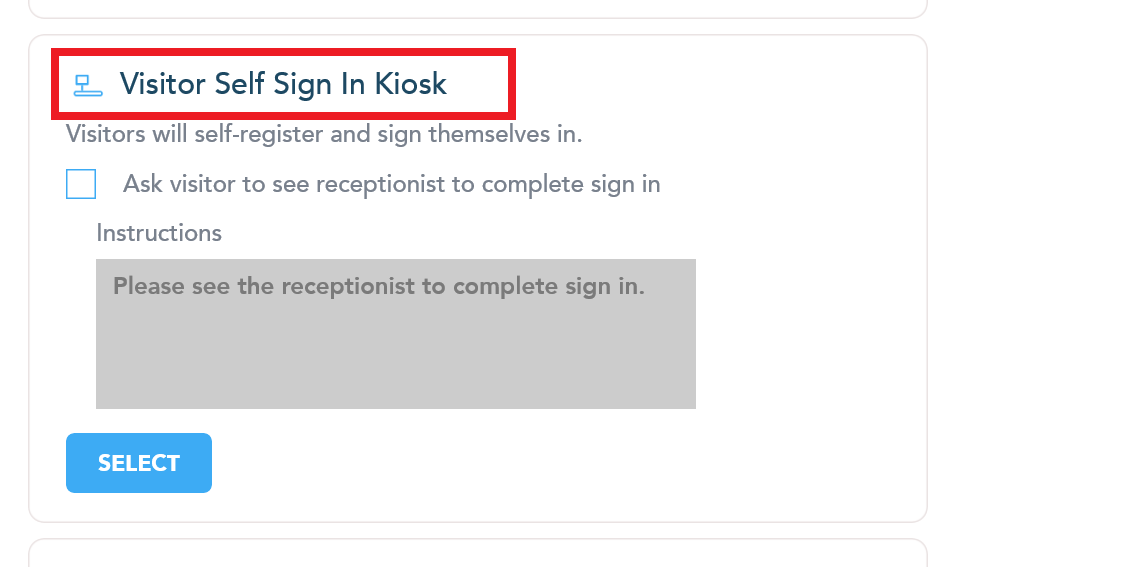
Scroll down to the visitor self-sign in kiosk settings.
-
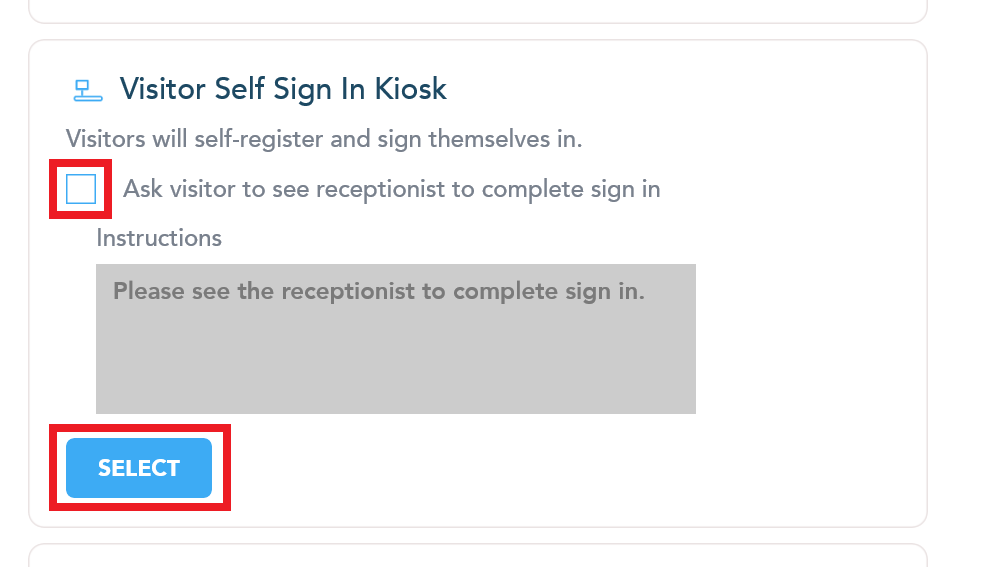
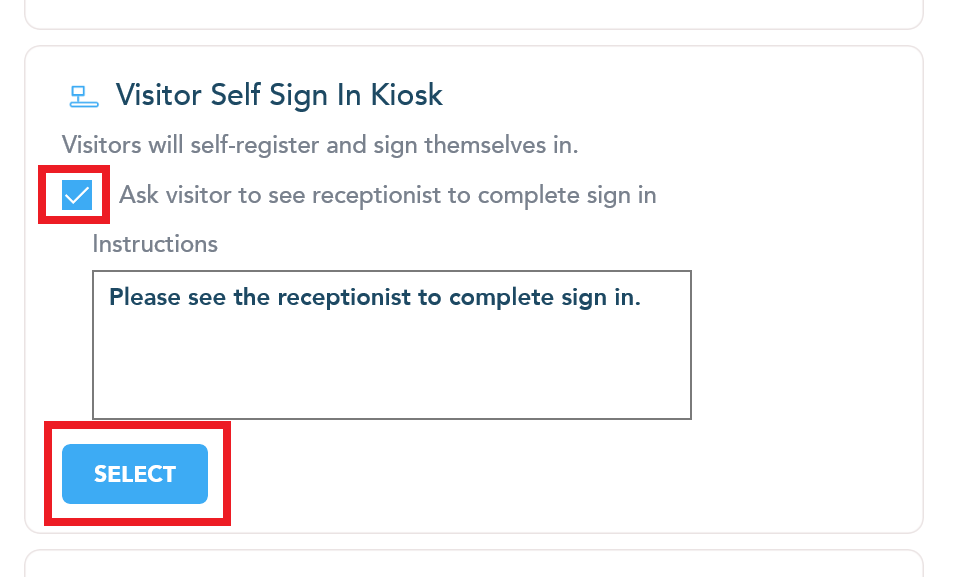
Then tap on the select button. Make sure that the setting "ask visitor to see receptionist to complete sign in" is disabled.
-
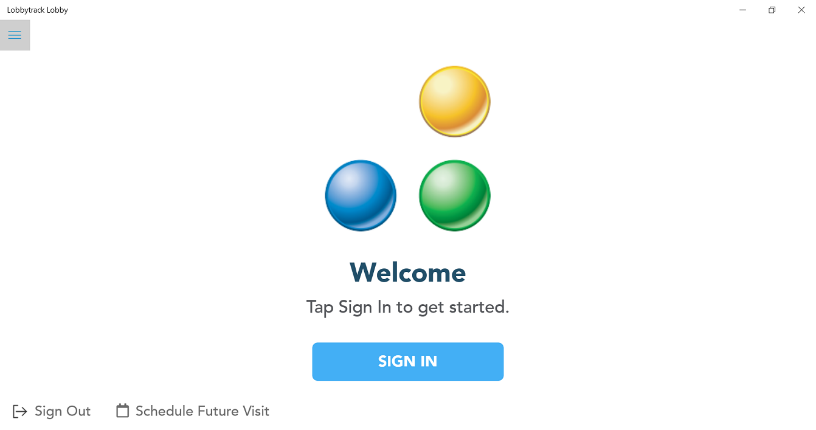
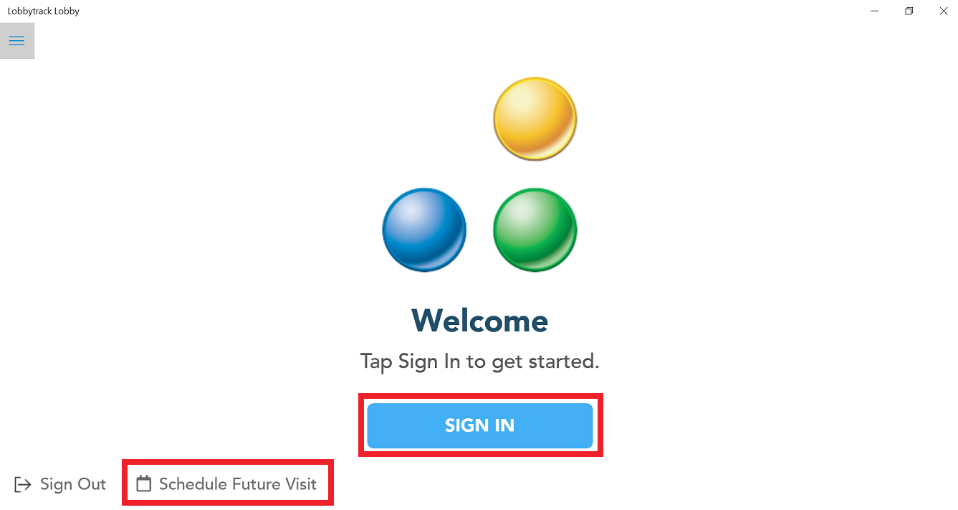
Once you enable the self-sign in mode, you can place the tablet at the entry point of your building. The visitors will walk up to the tablet while entering the building and they will see the screen that is being displayed in the image below. (You can display the logo of your own organization).
-
The visitors can tap on the "sign in" button under the company logo to register themselves for an immediate visit. They can also tap on the "schedule future visit" option to schedule a visit in the future.
-
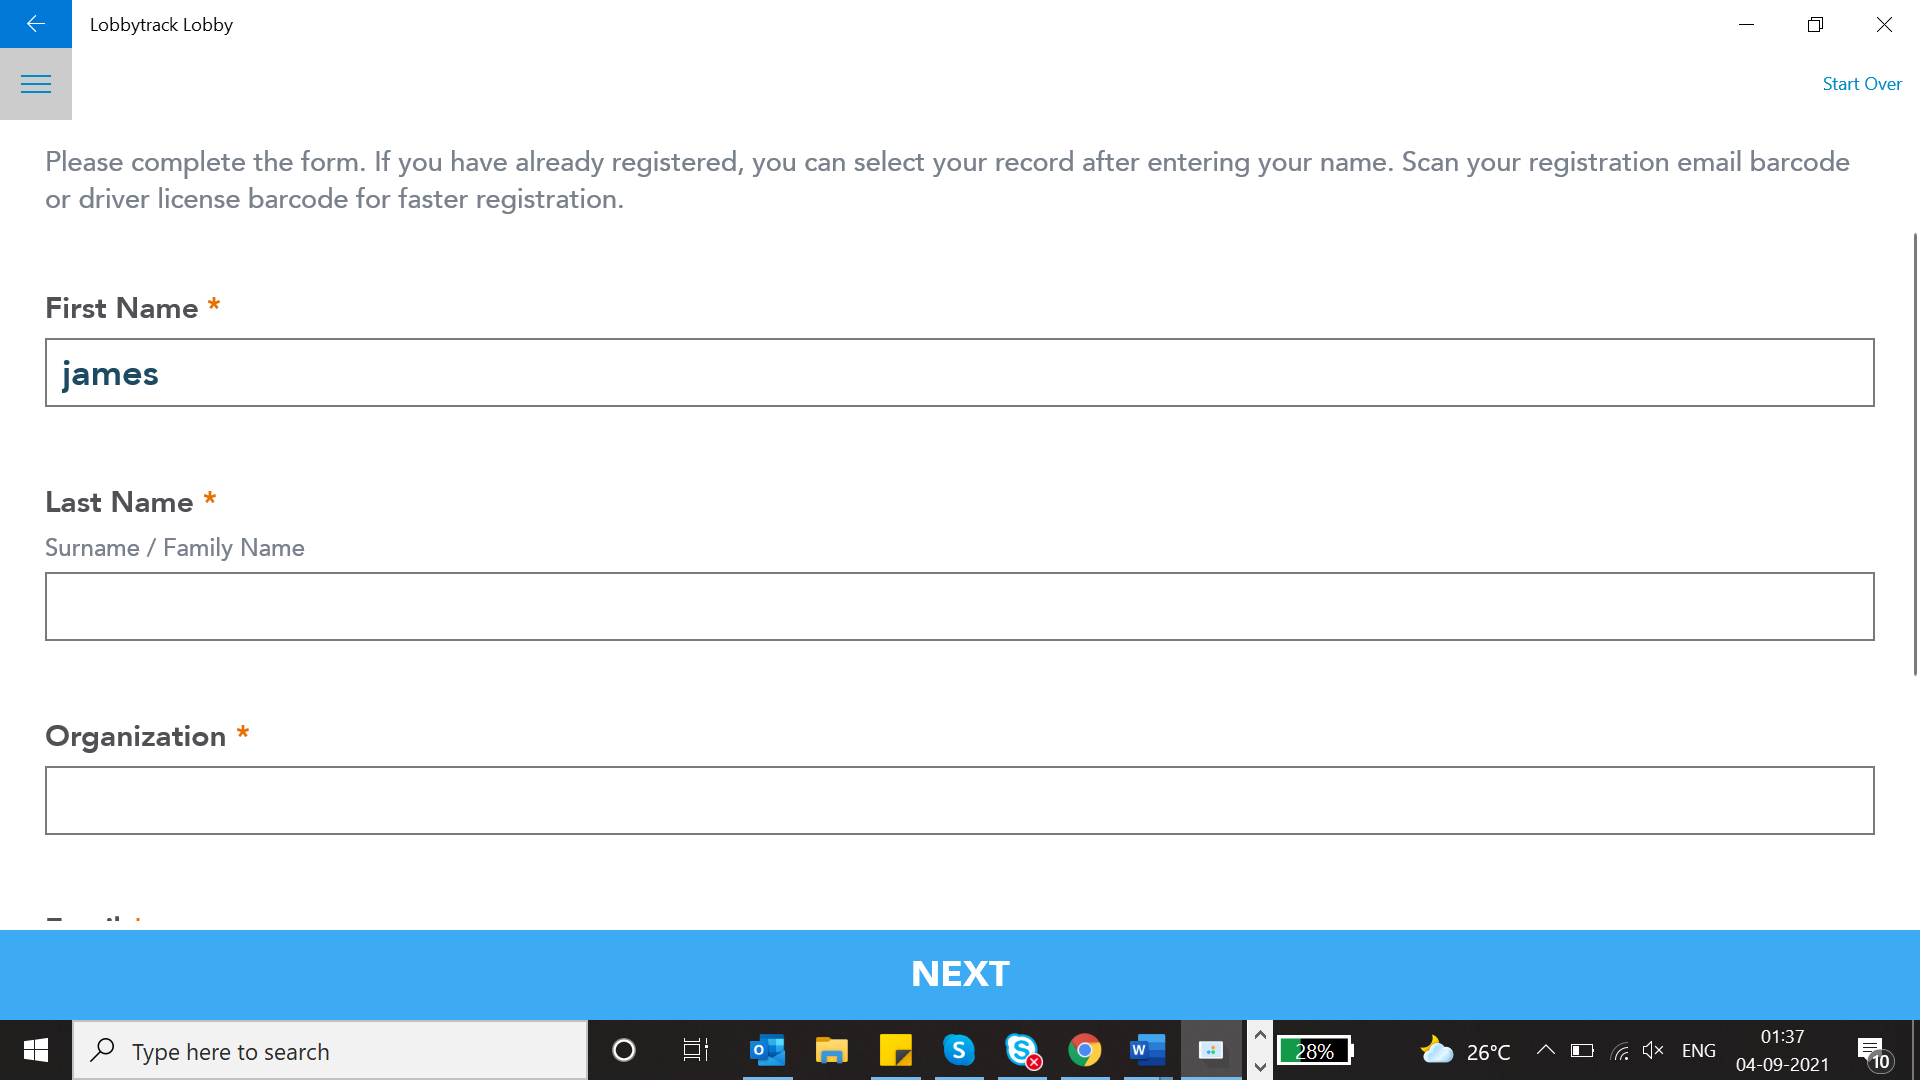
Once the visitor taps on the "sign in" button, they will be asked to fill in the pre-screening questions if you have any set, and then directed to fill in the
-
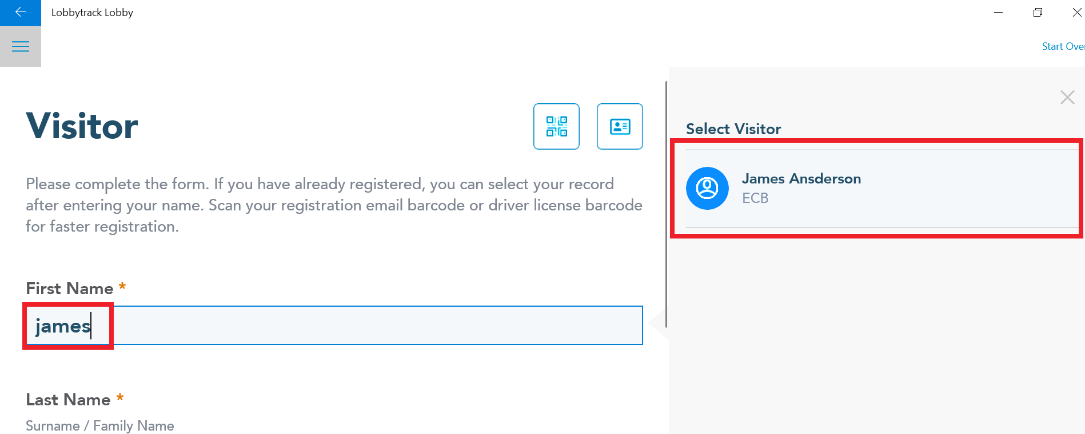
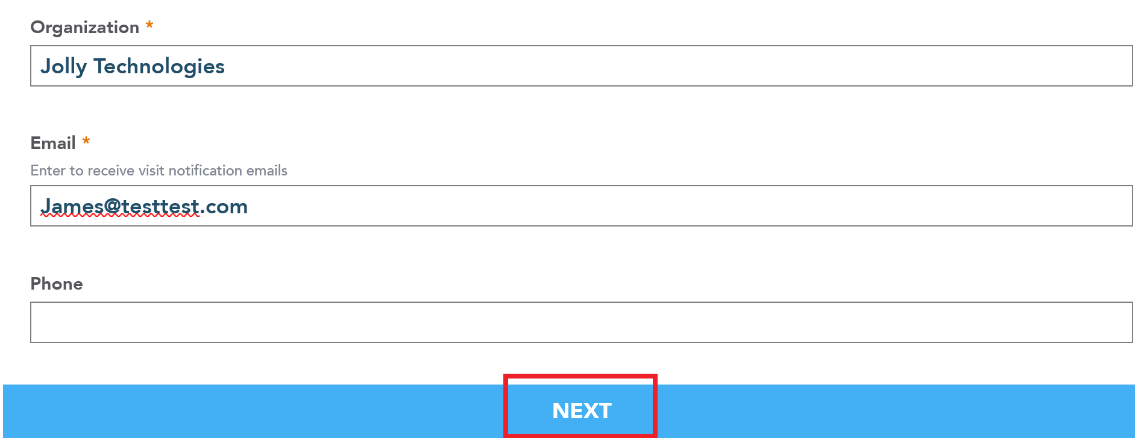
The visitor form can be configured to auto-fill in the visitor's information if they are a recurring visitor. Typing in part of their first name will show existing visitors to choose from. This is enabled by default.
-
Once the visitor fills up this form, they can tap on the next button at the bottom of the page.
-
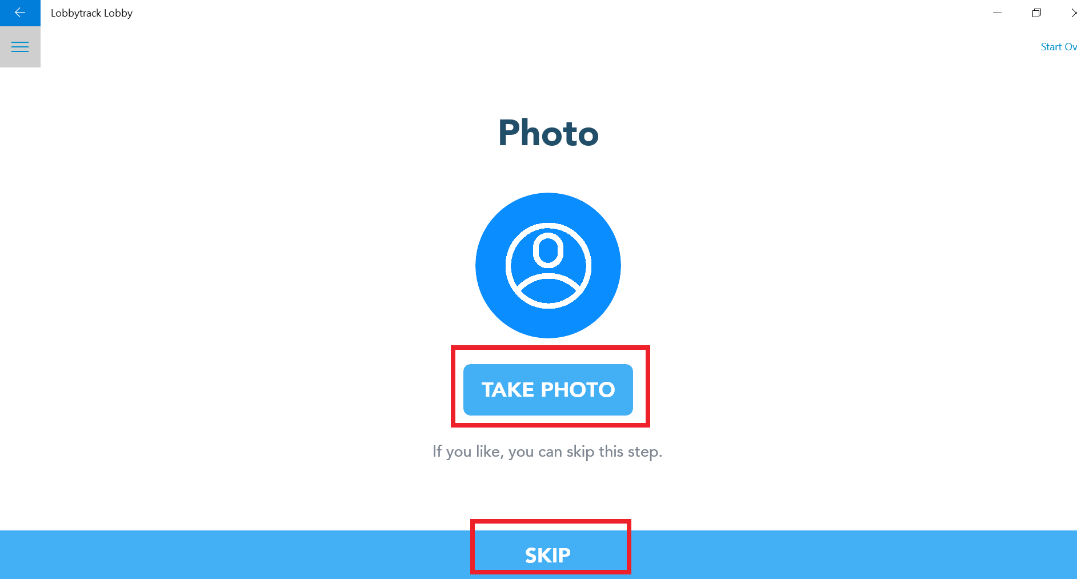
In the next step, the visitor will get an option to take a picture using the camera in the tablet. This picture can also be included in the visitor badges. If you are not planning to print badges for the visitors, then you can also give them an option to skip this step.
-
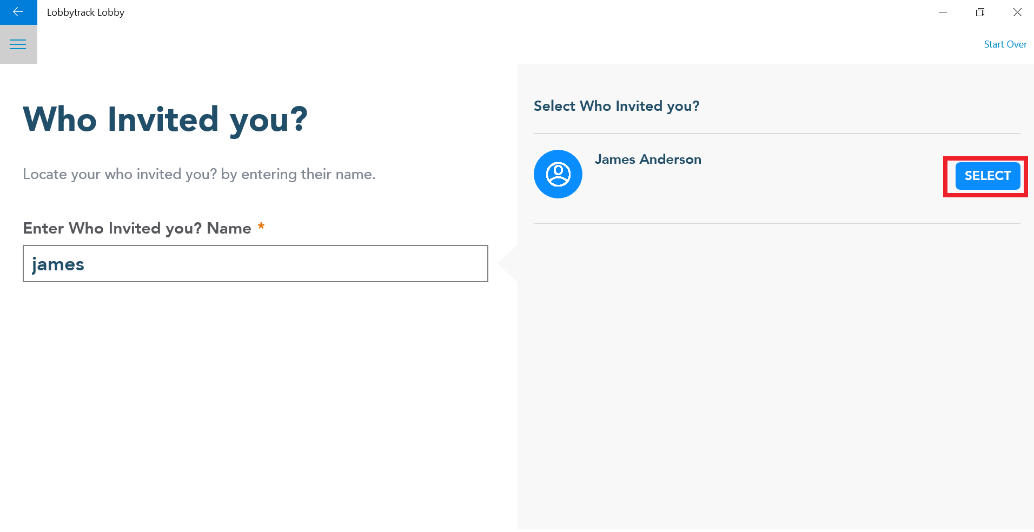
The visitor will be asked to select a host in the next step. Once they start typing the name, the application will give them an option to select the name of the host from the list of your employees. They can tap on the select button next to the name to select the host and move to the next step.
-
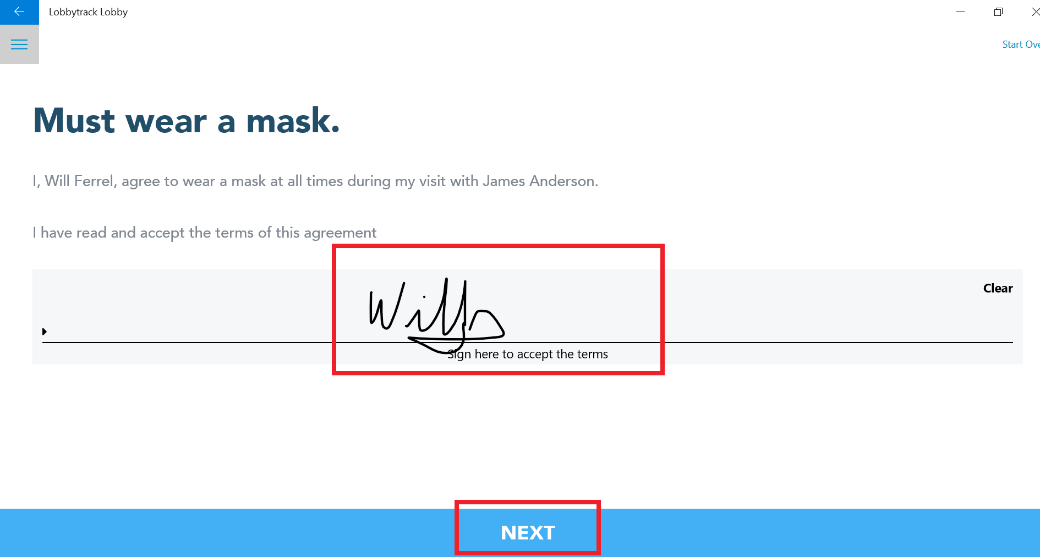
If you have an optional NDA/Visit Agreement set then the visitor will be prompted to accept or sign it during this next step. You can have multiple agreements added here.
-
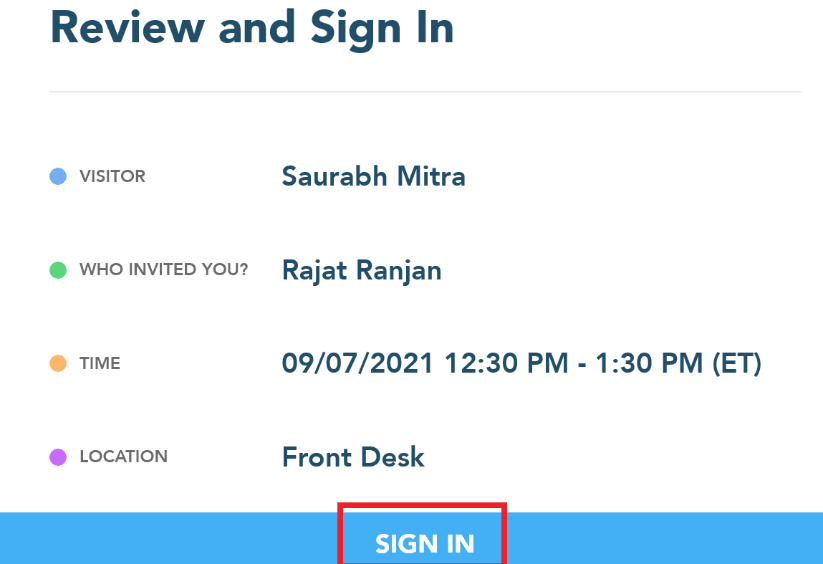
In the final step, the visitor will be asked to just review the information and then tap on the sign in button.
-
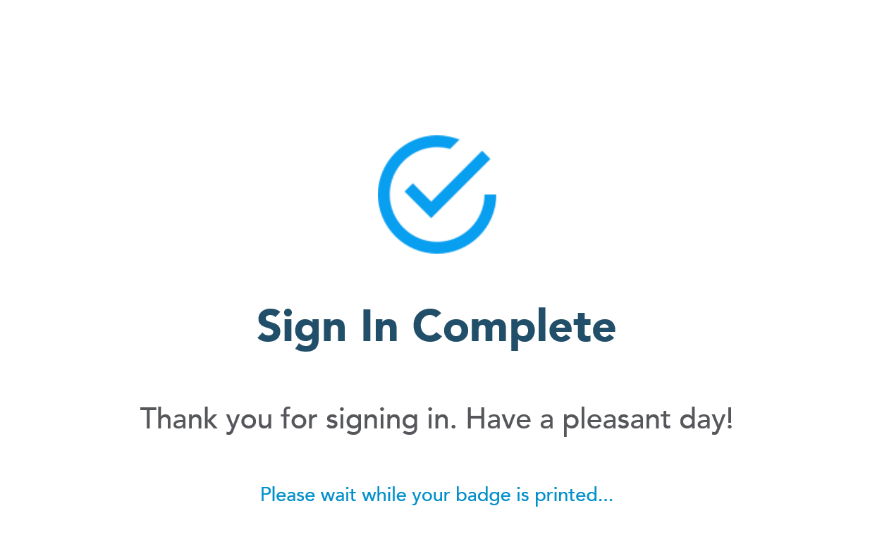
If you have a printer connected to the tablet you can choose to have the badge print automatically after sign-in. This is found in the app's settings menu where you chose the usage mode in the beginning of this setup.
Method 2 - Allow the visitor to only register the Visit - Receptionist required to complete the check in
Using this method, you can allow the visitors to fill up the information form just to register themselves. Upon filling up the form, the visitor will be asked to walk up to the receptionist to complete the sign in process. The receptionist will see the visitor record on their tablet, and they will be able to tap on the record to complete the sign in process.
The first 5 steps for the setup are the same as above. In step 6, you need to make sure that you enable the setting "ask visitor to see receptionist to complete sign in".
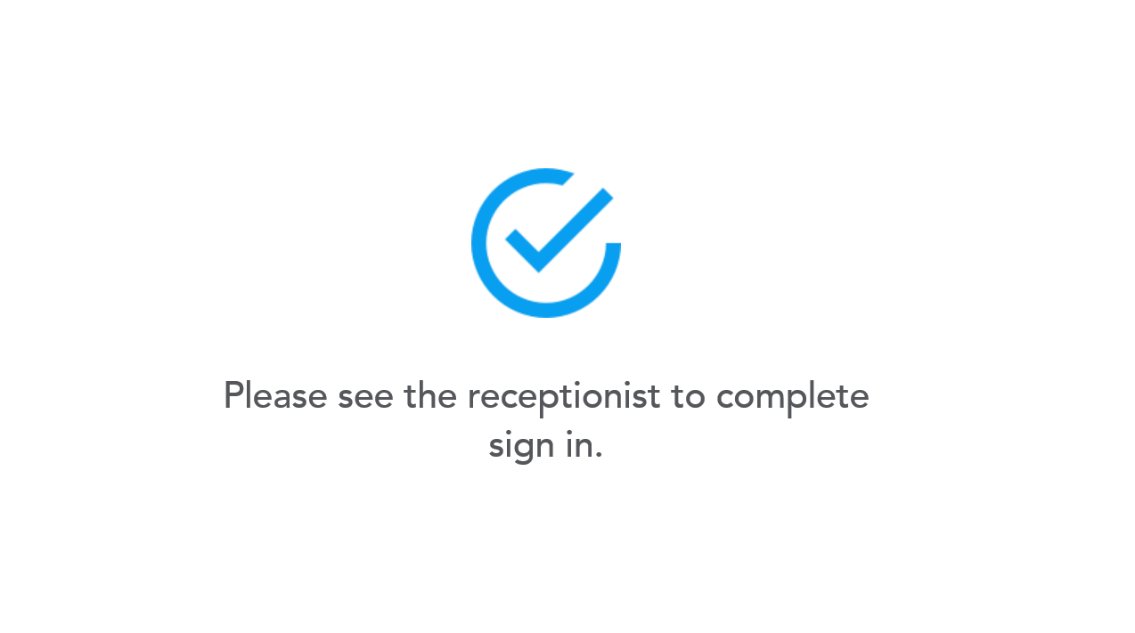
The visitor registration process will also be the same as above. Please go through steps 7-15 to understand how the visitor experience will be. Once the visitor reviews and submits the information, rather than printing a badge, the application will ask the visitor to meet the receptionist to complete the sign in process.
The receptionist can login to lobbytrack.com and then access the visitor record to complete the sign-in and print a badge. Please go through the steps listed below to understand the process:
-
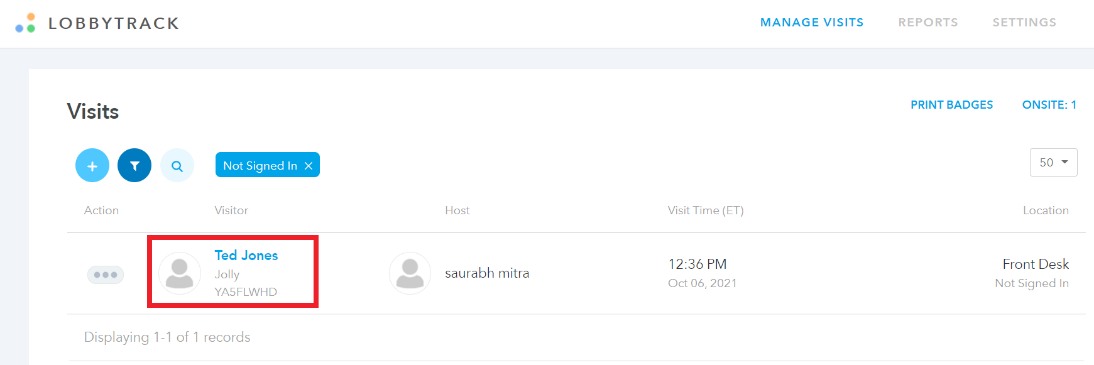
The receptionist will see the visitor record once they login and land on the lobbytrack.com dashboard. They need to click on the record to proceed with the sign-in.
-
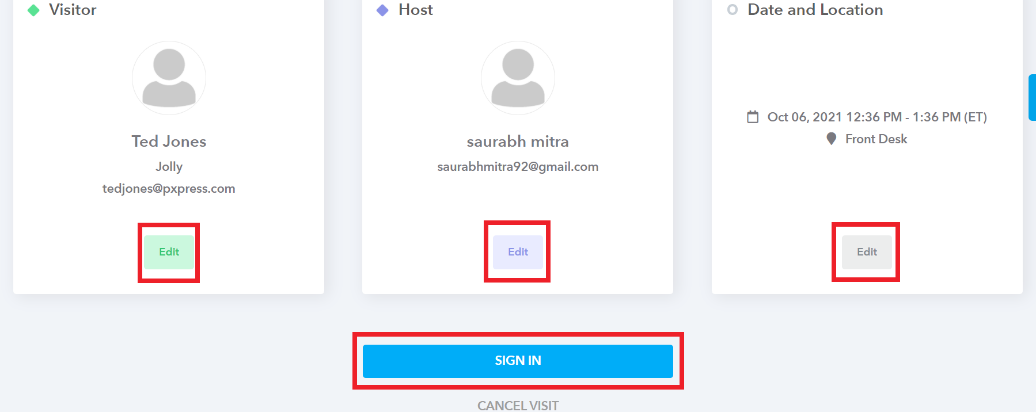
Check the details related to the visit on this page and then click on "sign in". The receptionist can also click on the edit buttons if they need to change anything.
-
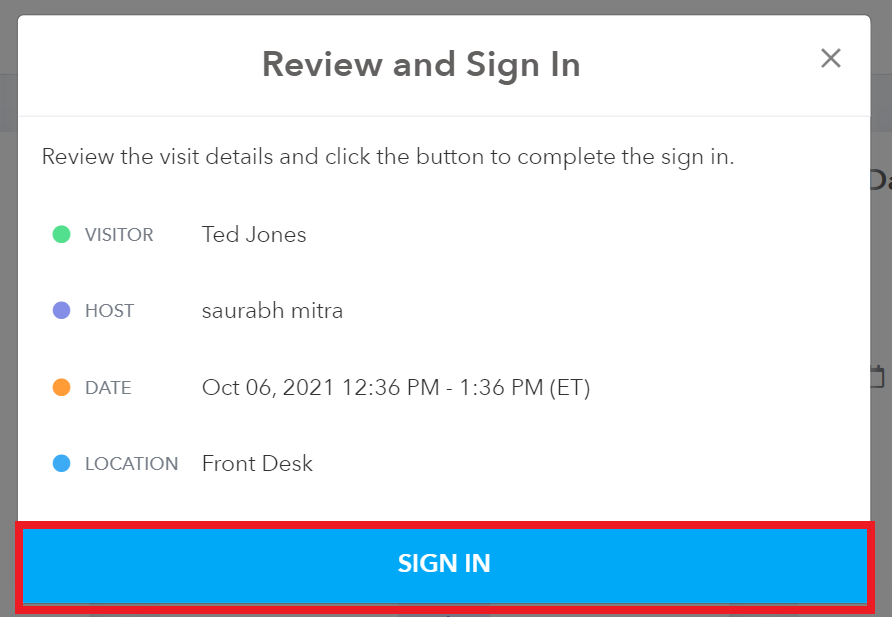
Review the information and then click on "sign in" again.
-
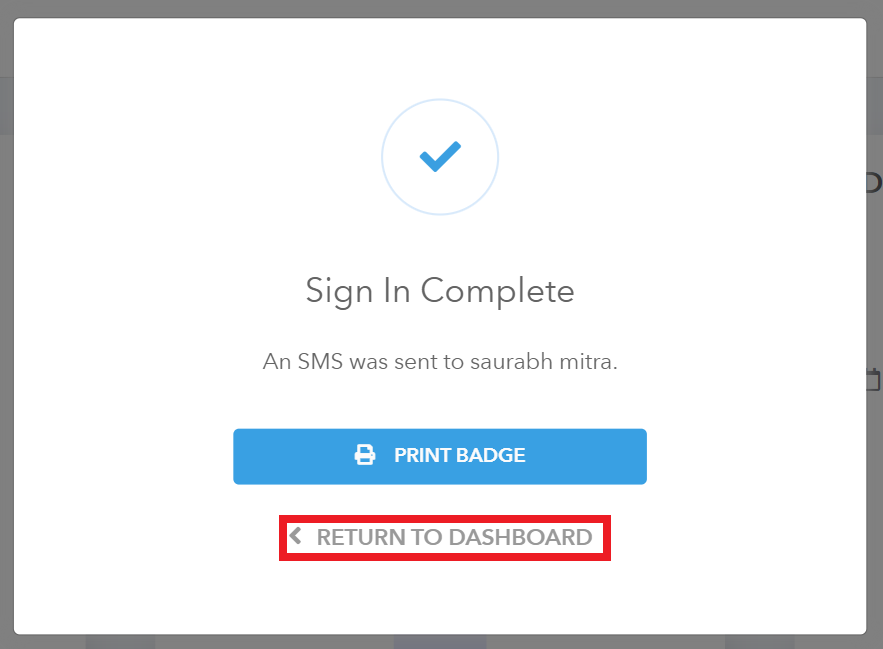
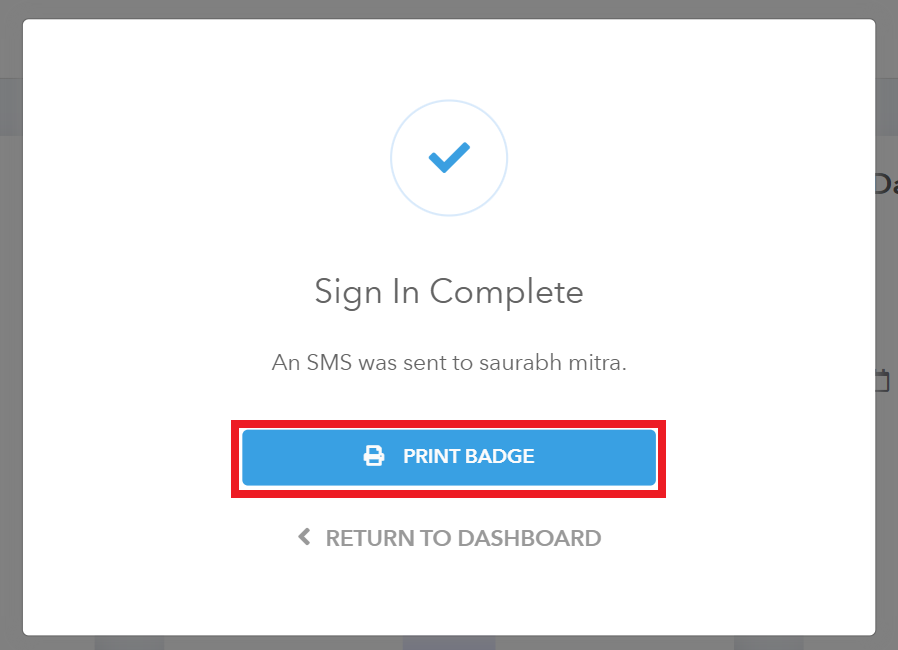
Click on "print badge" to print a visitor badge and complete the process.
-
Then click on "return to dashboard" once the badge is printed.