-
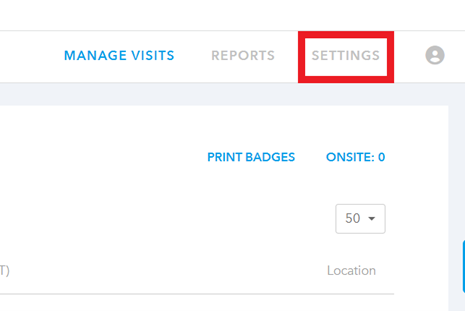
Log in to Lobbytrack.com and then click on “settings” at the top right corner.
-
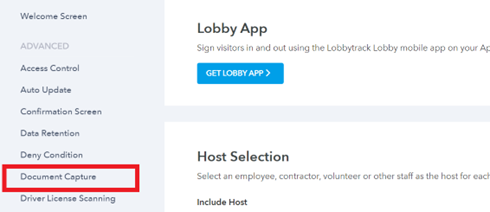
Then scroll down in the menu on the left and click on “document capture”.
-
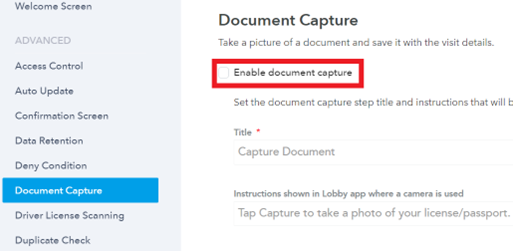
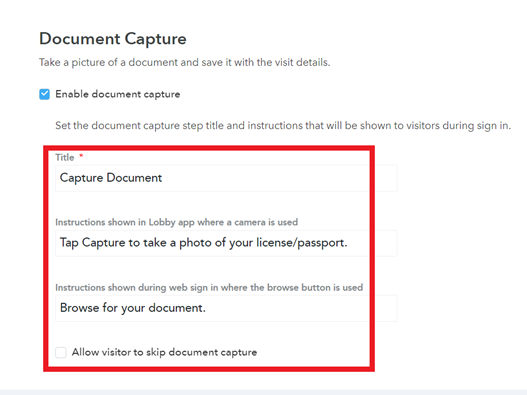
Click on the check box next to “enable document capture”.
-
Add a title and the instructions that should be displayed during a sign in through the Lobby app and the web portal.
-
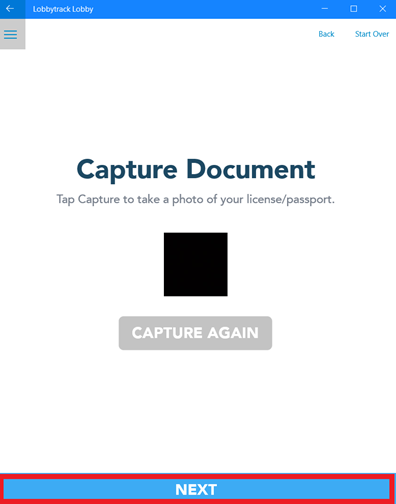
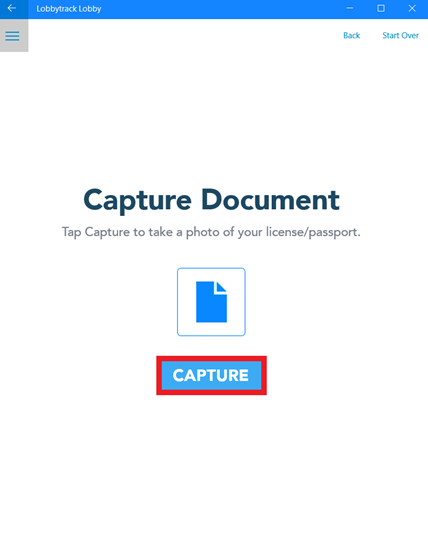
Once you enable the feature, the visitors will see an additional step during the sign in process. They need to tap the capture button.
-
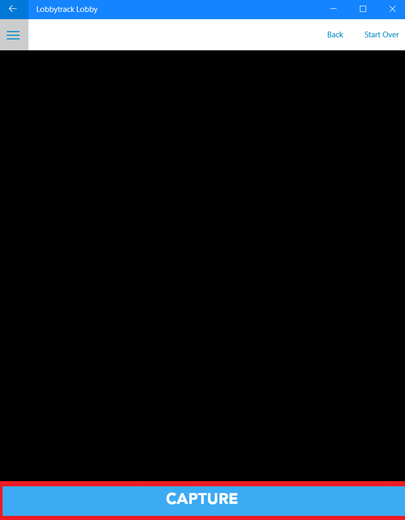
This will invoke the camera on the device. The visitors need to hold their ID or the requested document in front of the camera and then tap the capture button to capture a photo of the document.
-
Once the document is captured, they can tap the next button to proceed to the next step.