Create a user group in your Brivo account
-
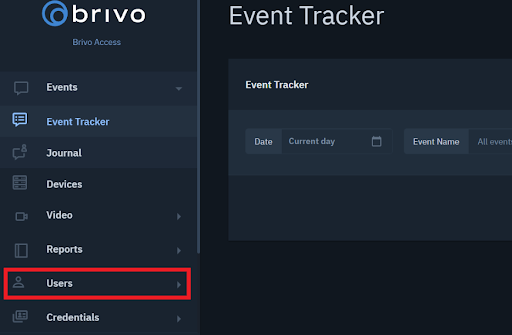
Login to your Brivo account and then click on "users" in the menu on the left side of the page.
-
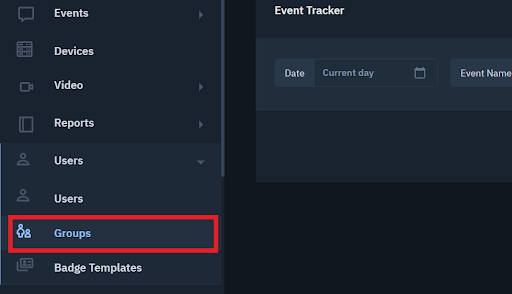
You will see a drop-down menu. Click on "groups" from the drop down menu.
-
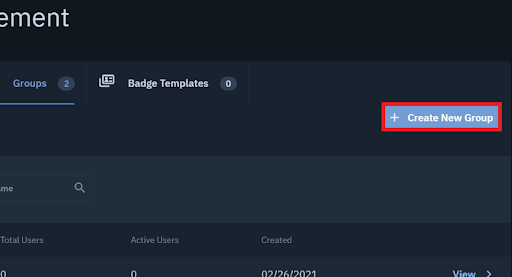
Click on the "create new group" button at the right side of the page.
-
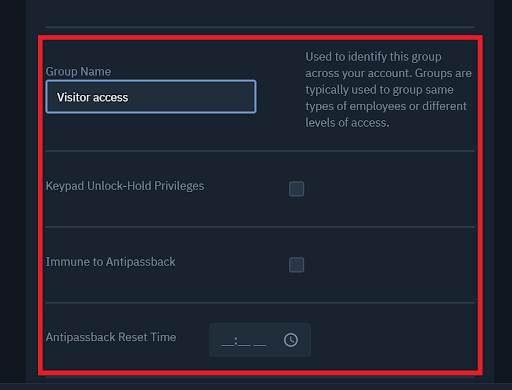
Add a name for the user group and select the areas that the visitors can access.
-
Once you are done with the configuration, click on the "create group" button at the bottom right corner of the page.

Access the information required to set up the integration
To set up the integration, Lobbytrack requires you to share the "administrator ID", "client ID" and the "client secret" from your Brivo account along with the Brivo account password. You can follow the steps listed below to find the administrator ID, client ID and the client secret in your Brivo account.
-
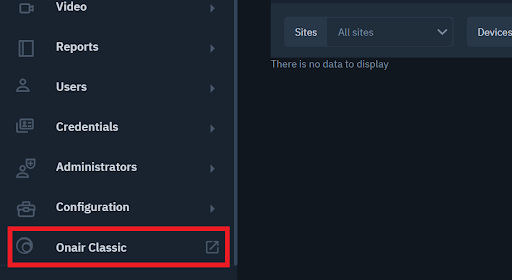
Login to your Brivo account and then click on the "Onair classic" option in the menu on the left side of the page.
-
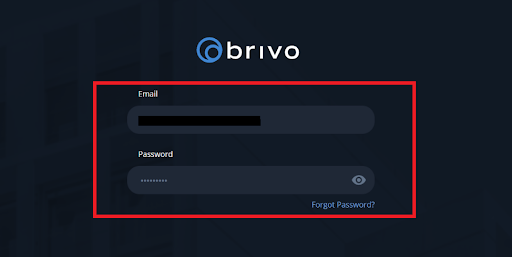
You will be asked to login again. Use the administrator login credentials to login again.
-
Once you are logged in to the Onair website, you will see the administrator ID on this page.

-
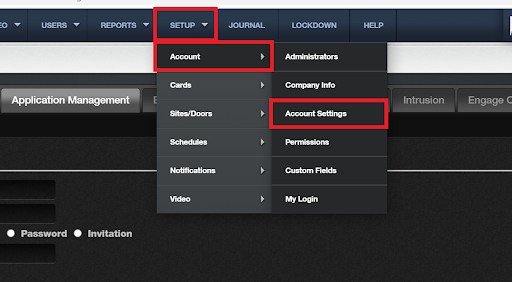
For the client ID and secret go to the "setup" option in the navigation bar. Then go to "account > account settings".
-
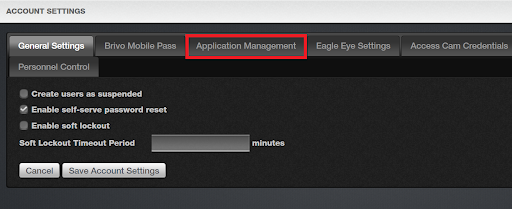
Then click on the "application management" tab.
-
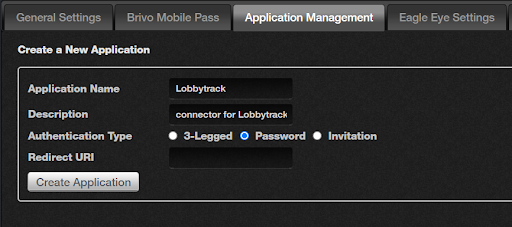
You will need to create an application integration here for Lobbytrack to link to. Enter the application name (Lobbytrack), the description (connector for Lobbytrack), and choose Authentication Type "password". Click on "Create Application".
-
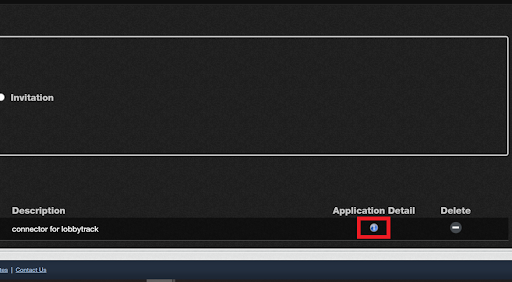
Then click on the "i" icon under the "application details" at the bottom right corner of the page.
-
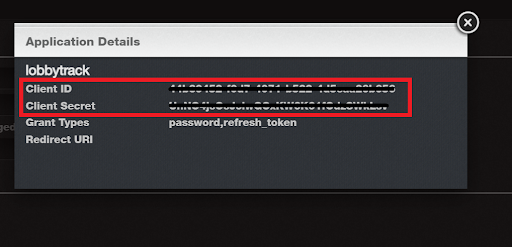
A small pop-up window will open on your screen and you can copy the "client ID" and "client secret" from this page.
Setup the integration in Lobbytrack
Once you have the Administrator ID, client ID and secret with you, follow the steps listed below to complete the integration setup in Lobbytrack.
-
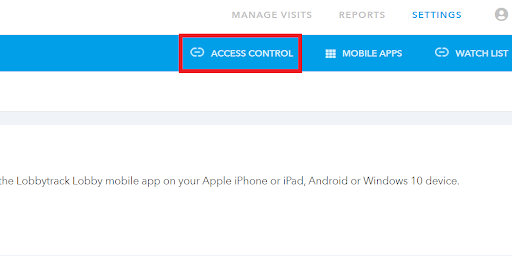
Login to Lobbytrack.com and then click on settings at the top right corner.

-
Click on "access control" in the navigation bar.
-
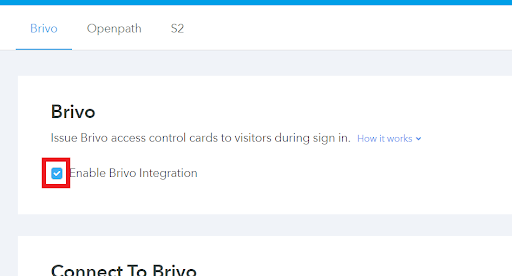
You may land on the Brivo integration setup page by default, if not then select it. Click on the check box next to "enable Brivo integration".
-
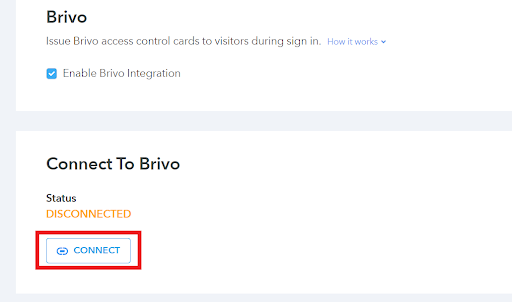
Scroll down and click on the "connect" button under status.
-
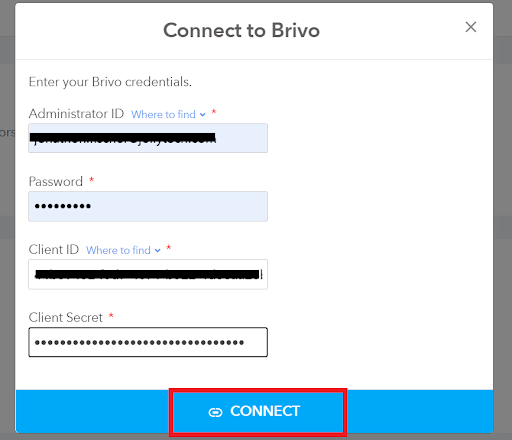
You will see a small pop-up box now. Enter the "administrator ID" and password along with the "client ID" and "client secret". Then click on the connect button at the bottom of the box.
-
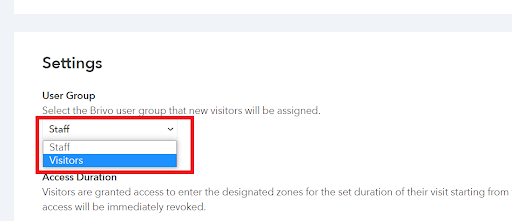
Scroll down to the bottom of the page and then select the Brivo access group that should be assigned to the visitors.
-
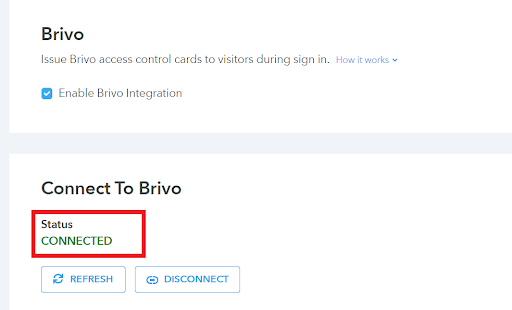
Once the connection is established, the status will be changed to connected.
Issue access cards to visitors
Once the applications are integrated, you can start issuing temporary access cards to your visitors. These temporary access cards have a unique card number assigned to each one of them. During the check in process, you will see an additional step in which you will be requested to type in this access card number. Please see the screenshots that have been added below to understand how the page appears on the tablet and in your computer in the dashboard view.
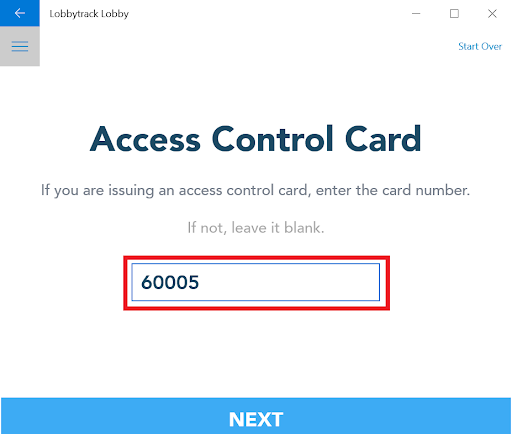
Lobbytrack lobby app - receptionist mode sign in

Lobbytrack.com - Dashboard sign in