Prerequisites
-
An active Lobbytrack.com account.
-
Visitor types have to be configured for assigning custom fields.
Creating Different Form Fields for Different Visitor Types
-
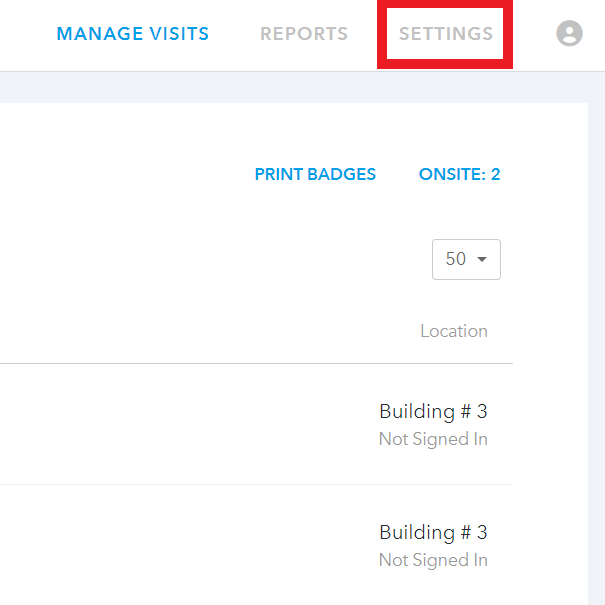
Log in to Lobbytrack.com and then click on SETTINGS.
-
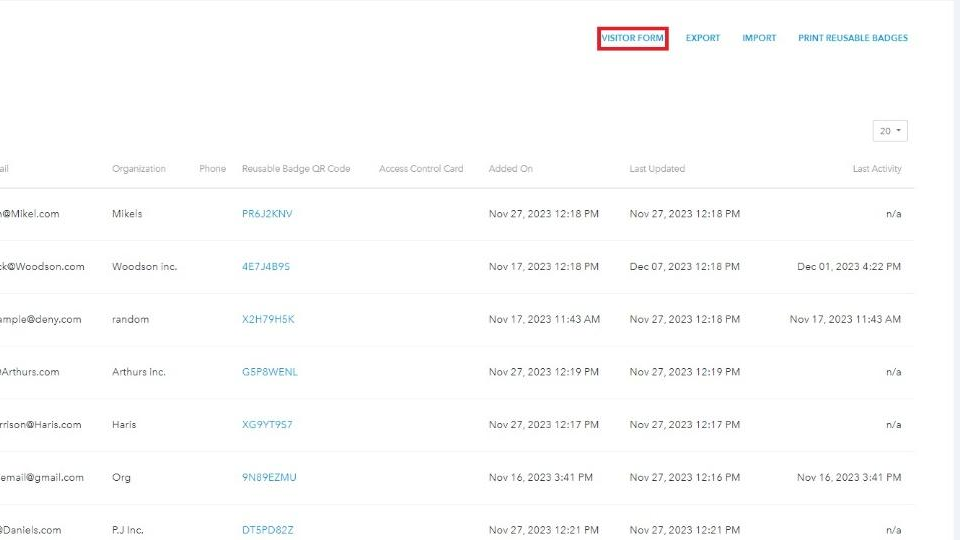
You will land on the Visitors tab. Click on VISITOR FORM on top right of the screen:
-
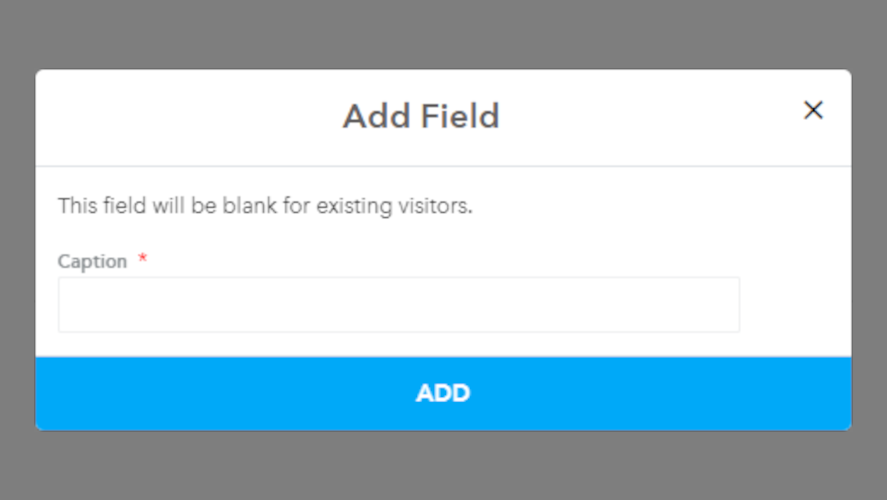
Now that you're in the visitor form, click on the ADD button to add a new custom visitor field.

-
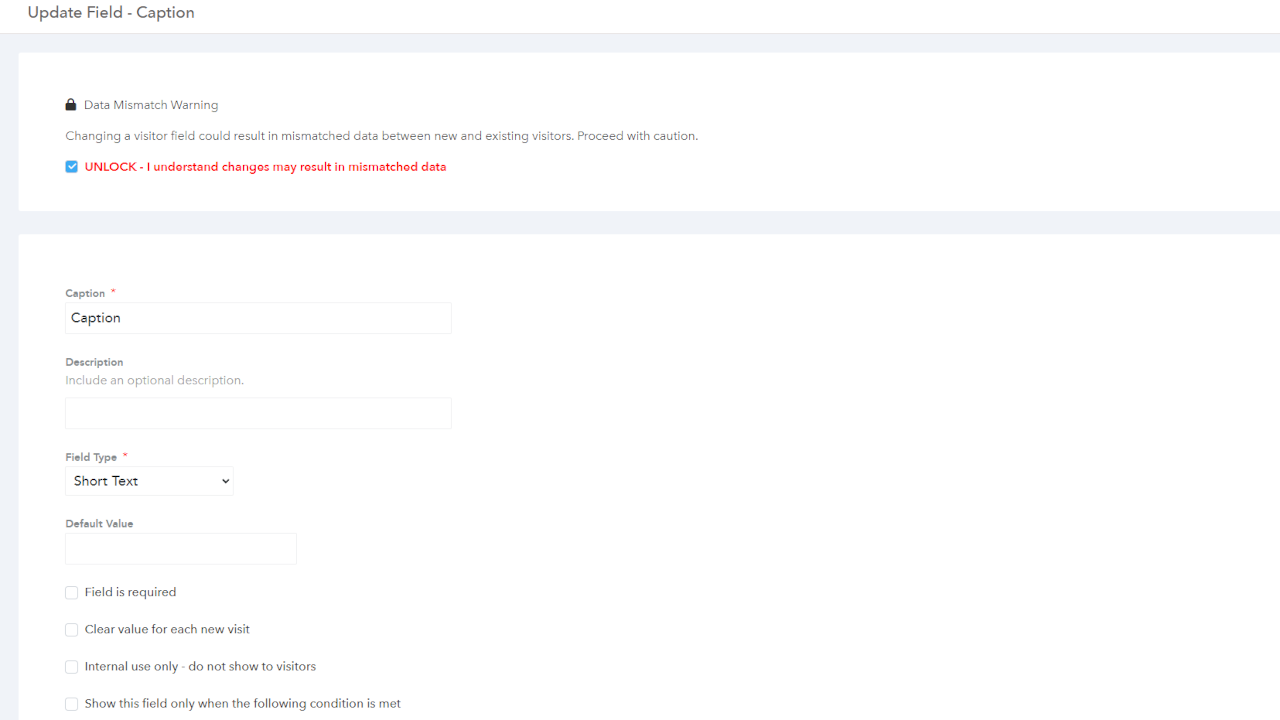
A pop up will be shown where you will be able to enter the caption for your new field.
-
Type the name of the field and click ADD. Check the UNLOCK option on top of the page. You can now edit different settings for your newly created field.
-
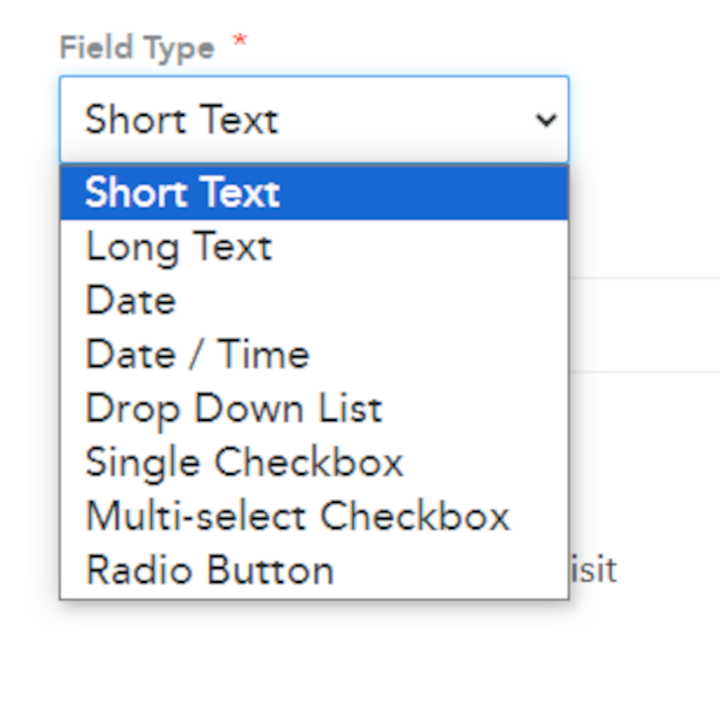
Finalize the name of the field, enter any optional description if required, and select the Field Type.
-
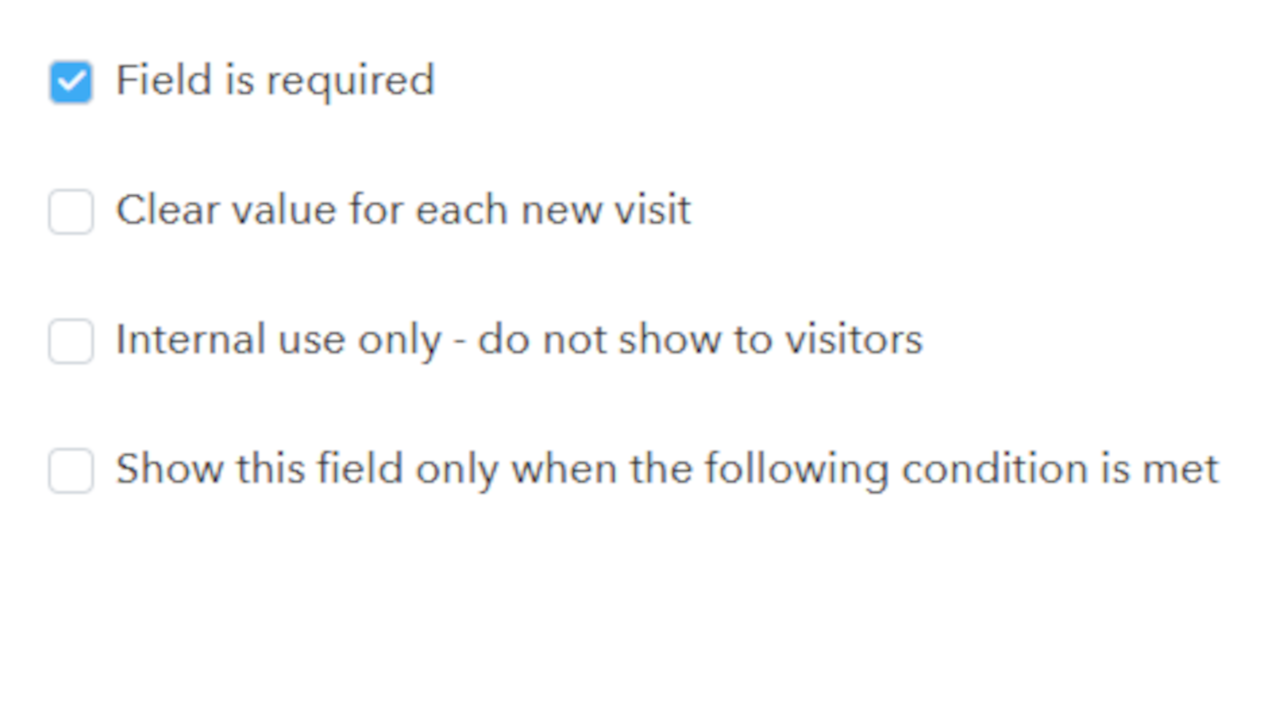
Select the checkboxes depending on how you would like your new form field to function.
-
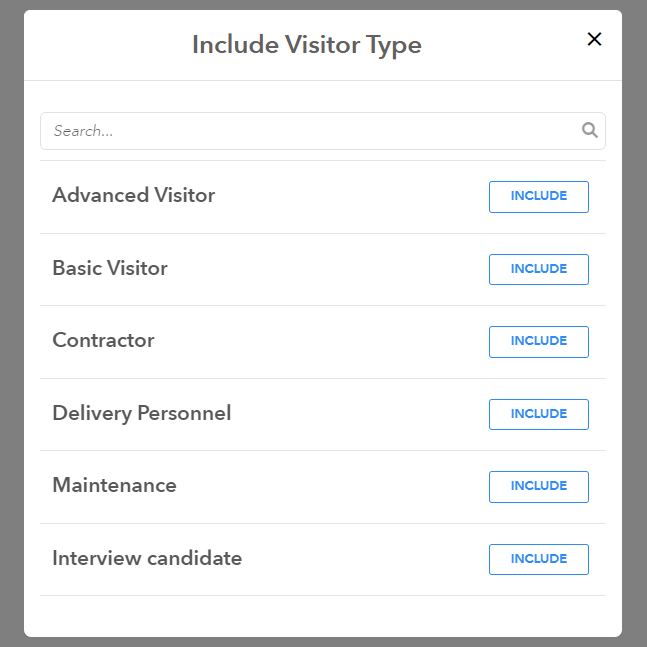
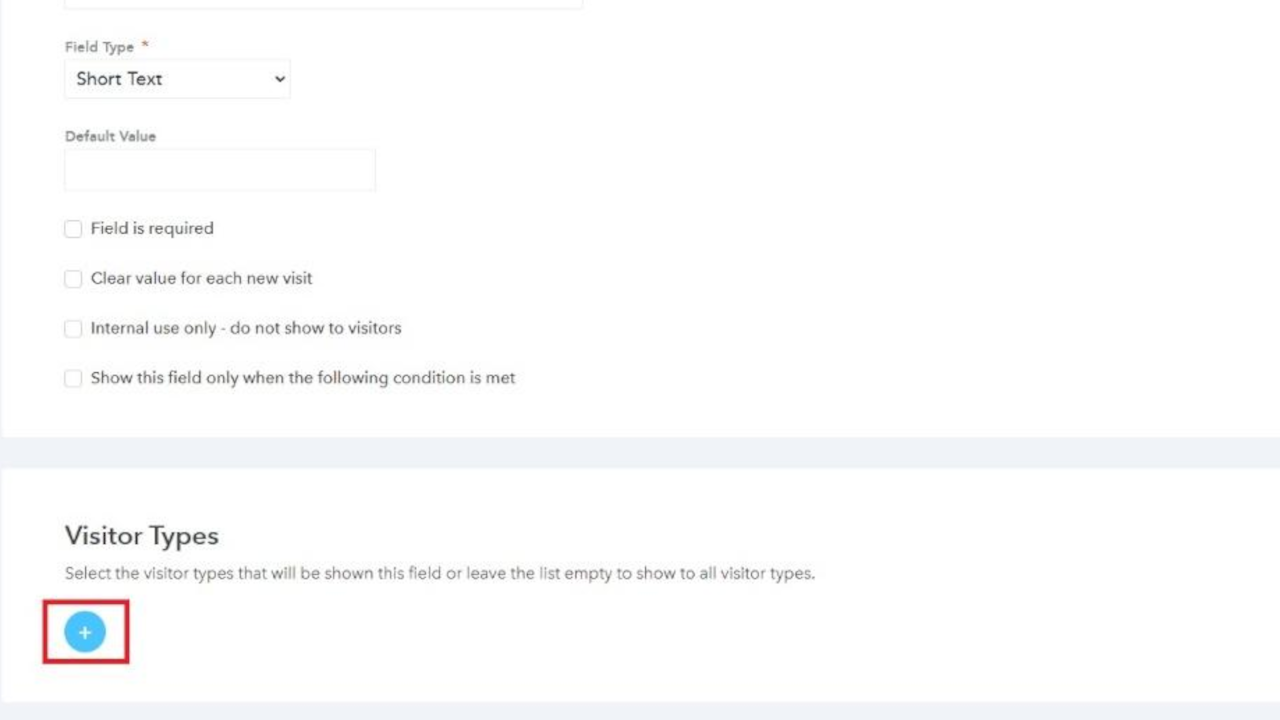
Scroll down to Visitor Types and select which visitor types you want to apply the visitor field to. Simply click on the plus sign to open the visitor selection menu:
-
Select which visitor type to apply the visitor field to by selecting INCLUDE. Close the window when ready.